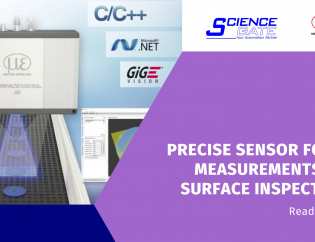
Today we present the new generation of high-precision inline 3D measurements. The new surfaceCONTROL 3D 3500 is a 3D snapshot sensor which is ideally suited to automated inline geometry, shape and surface inspections on diffuse reflecting surfaces. The principle of fringe light projection allows direct 3D measurement of different measuring objects.
The sensor is characterized in particular by its extremely high resolution in the Z-axis. With a Z-repeatability up to 0.4 µm, the sensor sets a new benchmark in the high precision 3D measurement technology. This is how even the slightest of planarity deviations and height differences can be reliably detected. The high data processing speed of 2.2 million 3D points per second increases productivity in the respective application. Its compact design and low weight predestine the fully integrated industrial sensor with IP67-certified housing for easy integration into existing production facilities and machines.

The target markets for the surfaceCONTROL 3D 3500 include almost all industrial sectors from automotive production and electronics production to classic machine building.
Integration, commissioning and parameter set up are easy and flexible. In addition to the fast data output via Gigabit Ethernet, the sensor offers an additional digital I/O interface. The powerful 3DInspect software tool enables both precise 3D measurements as well as surface inspection tasks. The GigE Vision compatibility also allows easy integration into every common third-party 3D image processing software. A comprehensive evaluation software as well as SDK for customer software integration rounds off the software package.

The company „Paul von der Bank“ in Hilden (Germany) develops and manufactures modular-designed robotic welding cells and fully automatic production and processing lines. To ensure high production quality of longitudinally welded pipes, the following factors must be considered:
- Besides sheet edge length, the exact edge position must be known
- It must be guaranteed that sheet edges are aligned perfectly to each other
Advantages
- Non-contact and wear-free detection
- Easy parameter setup
- Excellent price/performance ratio
Requirements for the measurement system
- 2D/3D profile sensor with integrated evaluation
- Ethernet interface
- Measuring field 25 x 25mm
- Distance precision < 50μm (z-axis (height))
- Contour precision 50μm (x-axis (width))
- Laser safety class 2M; Option: external laser switch-off
- User-friendly operating software for selecting and setting
the profile evaluation - Free-of-charge support for system integration
Ambient conditions
- Dusty industrial environment
System design
- 2 x profile scanners LLT2610-25/SI
- 2 x Software Configuration Tools
- Sensor cable PC2600/2900-15


